Skip to content
Made in the USA · Since 1910
Newark Wire Works Start a Quote

Made in the USA

Products/ProGuard Series/Wire mesh partitions

ProGuard SeriesAngle-frame construction

Wire Mesh Partitions

Create secure cages, storage areas, and equipment enclosures with modular steel mesh panels, doors, and gates.

  • Best forWarehouses, tool cribs & secure storage
  • Your choicesMesh, height, doors, locks & finish
  • ConstructionSteel angle frame · standard or heavy duty

How ProGuard Partitions Are Built

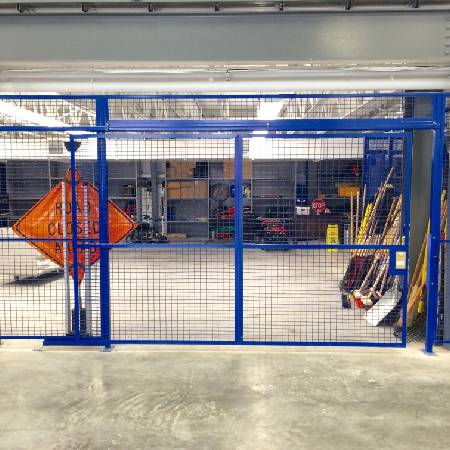
ProGuard partitions use steel angle-framed mesh panels mounted to posts and adjoining panels. Arrange them as a dividing wall, tool crib, storage cage, or equipment enclosure, with hinged doors or sliding gates where access is needed. The open mesh keeps the area visible and lets air circulate through the partition.

The layout comes first: mark the runs, height, doors, and anything the panels must fit around. Then select the mesh, locks, and finish, with a framed ceiling if the enclosure needs to close overhead. The specifications below explain the components; the ProGuard Design Studio lets you draw a layout to send with your request.

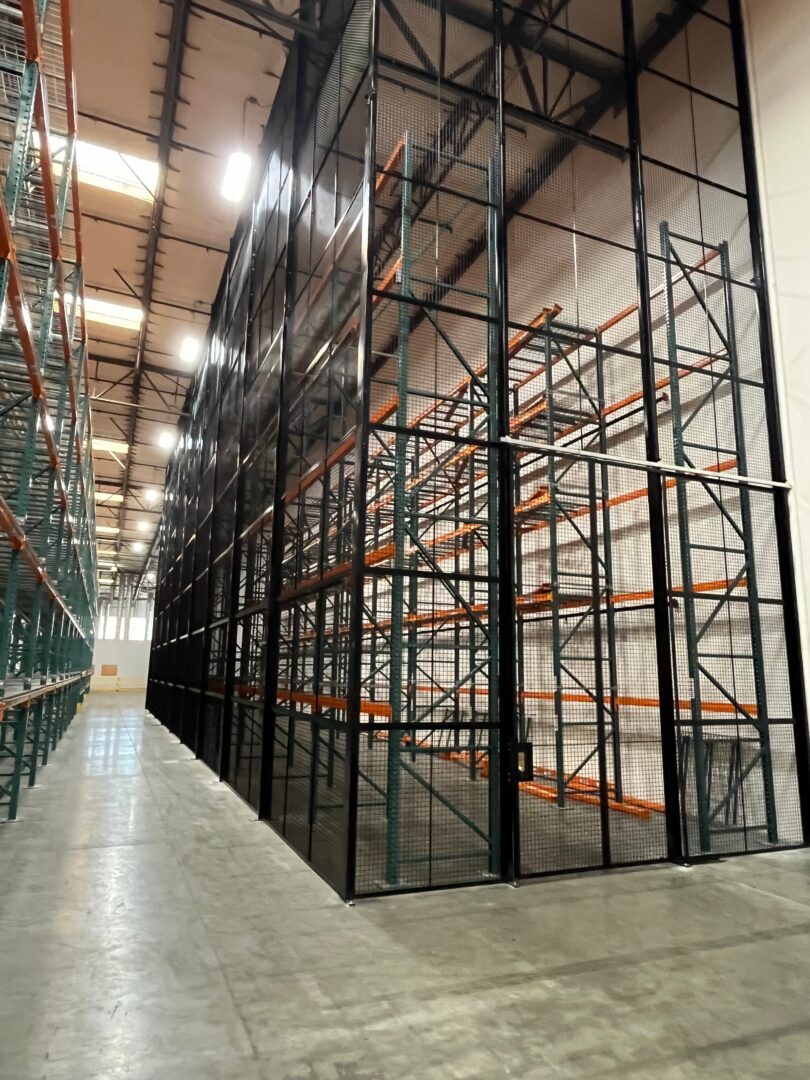
ProGuard wire mesh partition enclosure
ProGuard Series · wire mesh partitions

Product details

Specifications At A Glance

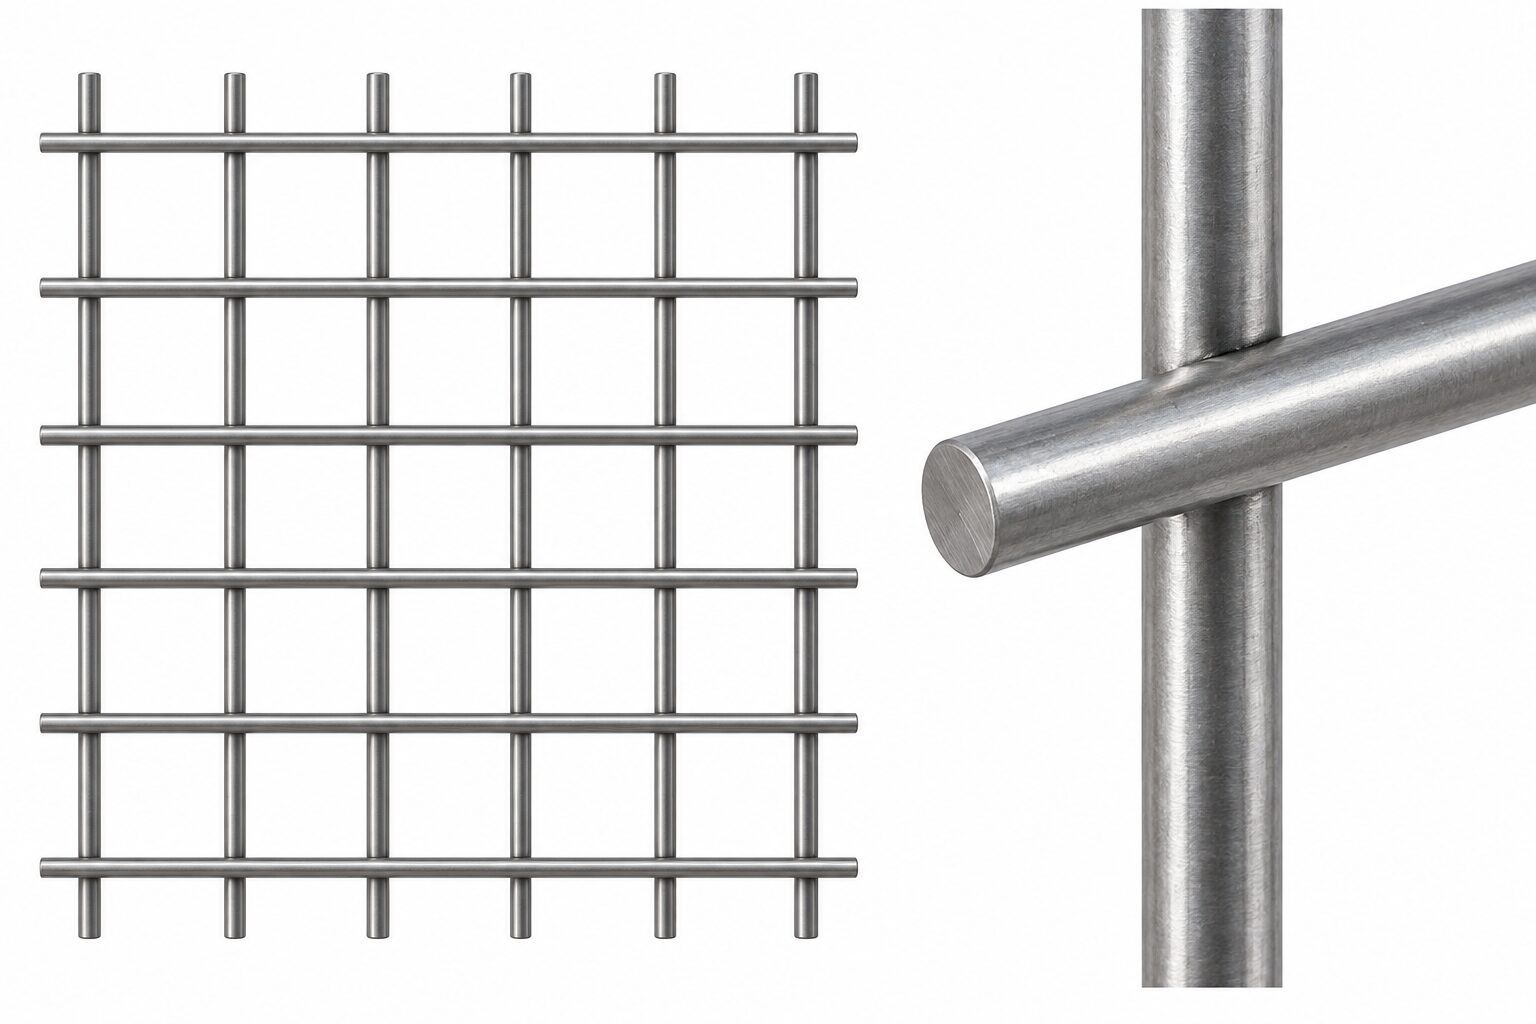
Welded Wire Mesh Close-Up

Square welded wire mesh with continuous horizontal wires overlapping vertical wires, plus an enlarged crossing detail
10 ga. square welded wire · overlapping wire layers and enlarged crossing detail.

Inside Frame Connection

Inside view: welded mesh attached to the standard ProGuard angle frameA close-up of an L-shaped steel angle panel corner, with overlapping wire layers and orange highlights at illustrative mesh-to-frame welds. The open angle legs face the inside of the enclosure.INSIDE FACE · PANEL CORNER123Orange highlights identify mesh-to-frame welds.
Inside-face construction detail · illustrative, not to scale.

A closer look at the construction

Mesh Welded To The Angle Frame

The view from inside the enclosure shows how the welded wire mesh attaches to the steel-angle panel frame. This detail shows the standard 1¼ in. angle frame; heavy-duty ProGuard uses a larger frame.

  1. 1Mesh-to-frame welds. The mesh overlaps the flat leg of the angle and is welded to the frame.
  2. 2Overlapping wire layers. Straight wires sit on top of one another and are welded at their crossings. Standard mesh is 10 ga., 2 in. × 2 in.
  3. 3Inside-facing angle leg. The open side of the 1¼ in. × 1¼ in. × ⅛ in. angle frame faces the enclosure interior.

Welds are highlighted for visibility; weld size and spacing are not specified by this illustration.

Compare mesh & infill options →
Full technical specifications

Construction details

Panels, Posts, Doors, Connections, And Ceilings

These are ProGuard starting points—not a substitute for the approved submittal. Final panel sizes, reinforcement, posts, anchorage, openings, overhead support, and hardware are coordinated to the actual project.

01 / Panels

Angle-Framed Wall Panels

Standard mesh
10 ga. (.135 in.) 2 in. × 2 in. square welded wire
Standard frame
1¼ in. × 1¼ in. × ⅛ in. steel angle
Heavy-duty frame
1½ in. × 1½ in. × ⅛ in. steel angle
Stiffeners
Flat-bar reinforcement based on panel width and selected construction
02 / Posts

Full-Height Tube Supports

Standard post
2 in. × 2 in. square steel tube with ⅛ in. wall
Base plate
2 in. × 7 in. × ¼ in. welded plate; 7-in. direction perpendicular to partition
Locations
Corners, jambs, directional changes, and scheduled support points
Tall systems
Larger posts and lateral or overhead support may be required
03 / Hinged doors

Framed Personnel Access

Door frame
Angle-framed mesh leaf with lock-area reinforcement
Hinges
Three fixed-pin butt hinges on the standard personnel-door detail
Support
Full-height C-channel hinge bar and full-height locking bar
Above opening
Framed mesh transom where the partition continues overhead
04 / Sliding gates

Access Without A Door Swing

Gate leaf
Angle-framed selected mesh with horizontal reinforcement
Operation
Overhead track, roller hangers, bottom guide, and travel stops
Use
Material handling, wider openings, or restricted floor area
Coordination
Clear opening, pocket/travel area, lock, operator, and structure
05 / Connections

Fasteners And Anchorage

Panel connections
Carriage bolts and locking nuts through prepunched frame holes
Panel to post
Self-drilling fasteners through the vertical panel frame
Floor
Post-installed anchors selected for the approved substrate
Security
Tamper-resistant fasteners available where required
06 / Top closure

Open-Top Or Ceiling Enclosure

Open top
Coordinate final height, top channel, walls, and overhead conditions
Closed top
Framed ceiling or roof-over panels supported as scheduled
Support
Ledge angles, tees, tube beams, columns, or project-specific framing
Restriction
Security ceilings are not walking or storage surfaces
Plain-language guide to the dimensions

Wire gauge describes the wire diameter. A smaller gauge number generally means a thicker wire, but opening, weave, frame, and complete assembly still matter.

Mesh opening describes the pattern size, such as 2 inches square or 2 inches × 1 inch rectangular. Confirm whether the requirement refers to nominal spacing, clear opening, or center-to-center spacing.

Angle frame is the steel perimeter surrounding the mesh panel. ProGuard uses angle framing; MaxGuard uses channel framing.

Sweep is the space between the floor and the bottom of the partition or opening. It must be shown on the drawing and coordinated with the security requirement.

Mesh and infill selection

Compare 20 ProGuard Mesh And Infill Options

Opening size, wire diameter, visibility, climb resistance, impact resistance, appearance, airflow, and the written specification can all affect the right selection. Ask for a physical sample or scaled detail when appearance or opening size is critical.

Mesh catalog · 20 options

Images show the material family. Use the listed wire size and opening for selection, and request a sample or scaled detail to confirm appearance.

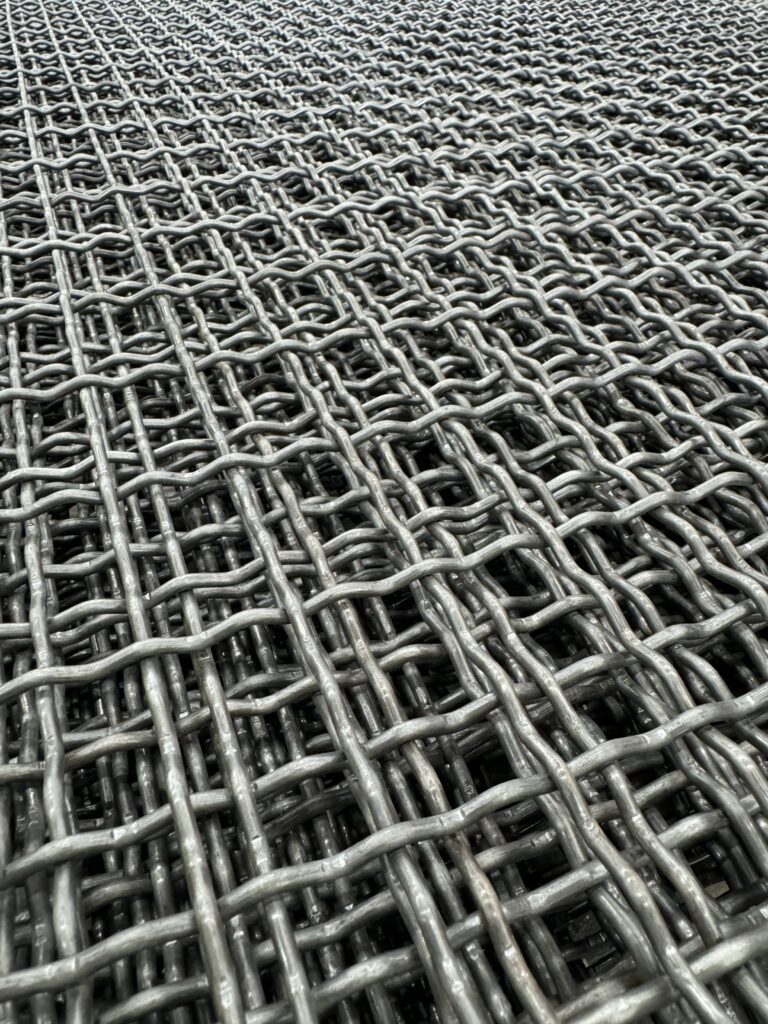
  • ¼ in. wire 4 in. square woven lock-crimp representative material-family image ¼ in. wire4 in. square woven lock-crimpRepresentative family image
  • 6 ga. 2 in. diamond woven intercrimp representative material-family image 6 ga.2 in. diamond woven intercrimpRepresentative family image
  • 6 ga. 2 in. square woven lock-crimp representative material-family image 6 ga.2 in. square woven lock-crimpRepresentative family image
  • 8 ga. 1½ in. square welded representative material-family image 8 ga.1½ in. square weldedRepresentative family image
  • 8 ga. 2 in. square woven lock-crimp representative material-family image 8 ga.2 in. square woven lock-crimpRepresentative family image
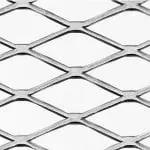
  • 9 ga. ¾ in. flattened expanded metal representative material-family image 9 ga.¾ in. flattened expanded metalRepresentative family image
  • 9 ga. ¾ in. square woven lock-crimp representative material-family image 9 ga.¾ in. square woven lock-crimpRepresentative family image
  • 10 ga. ¾ in. lock-crimp representative material-family image 10 ga.¾ in. lock-crimpRepresentative family image
  • 10 ga. 1 in. square welded representative material-family image 10 ga.1 in. square weldedRepresentative family image
  • 10 ga. 1 in. square woven representative material-family image 10 ga.1 in. square wovenRepresentative family image
  • 10 ga. 1½ in. diamond woven intercrimp representative material-family image 10 ga.1½ in. diamond woven intercrimpRepresentative family image
  • 10 ga. 1½ in. expanded metal representative material-family image 10 ga.1½ in. expanded metalRepresentative family image
  • 10 ga. 2 in. square welded representative material-family image 10 ga.2 in. square weldedRepresentative family image
  • 10 ga. 2 in. × 1 in. rectangular woven intercrimp representative material-family image 10 ga.2 in. × 1 in. rectangular woven intercrimpRepresentative family image
  • 11 ga. ⅝ in. square woven lock-crimp representative material-family image 11 ga.⅝ in. square woven lock-crimpRepresentative family image
  • 11 ga. ¾ in. lock-crimp representative material-family image 11 ga.¾ in. lock-crimpRepresentative family image
  • 11 ga. 1 in. square woven lock-crimp representative material-family image 11 ga.1 in. square woven lock-crimpRepresentative family image
  • 12 ga. ½ in. square woven lock-crimp representative material-family image 12 ga.½ in. square woven lock-crimpRepresentative family image
  • 12 ga. ⅝ in. square woven lock-crimp representative material-family image 12 ga.⅝ in. square woven lock-crimpRepresentative family image
  • 13 ga. ¾ in. expanded metal representative material-family image 13 ga.¾ in. expanded metalRepresentative family image

Selection matters: Not every mesh is appropriate for every frame, height, security level, finish, or regulatory requirement. Newark Wire Works confirms compatibility during project review.

Guide to mesh families
Representative NWW square welded wire mesh
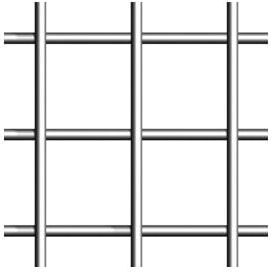
Square welded wireStraight wires joined at each intersection for clean, consistent square openings.Representative pattern
Representative NWW intercrimp woven wire mesh
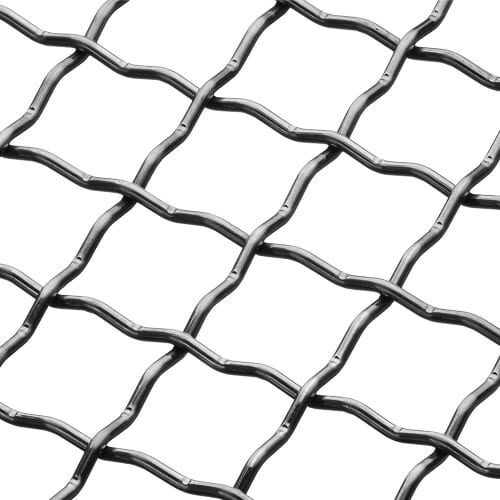
Intercrimp woven wireIntermediate crimps help hold the wire spacing in square, rectangular, or diamond patterns.Representative pattern
Representative NWW lock-crimp woven wire mesh
Lock-crimp woven wireDefined crimps lock crossing wires into a rigid woven pattern.Representative pattern
Representative NWW rectangular woven wire mesh panel
Rectangular woven wireA useful pattern where the specification calls for unequal horizontal and vertical spacing.Representative pattern
Representative raised expanded metal
Expanded metalSheet material slit and expanded into a rigid diamond-pattern alternative.Representative pattern
Representative solid sheet metal infill
Solid sheetUsed where selected panels, shelves, or project conditions call for an opaque infill.Representative material

Standard or heavy duty

Angle-Frame Construction

Both ProGuard constructions use angle-framed panels. Heavy Duty increases the angle-frame and stiffener sizes for projects that need a more substantial assembly.

Compare ProGuard and MaxGuard →

ProGuard Standard Duty

Flexible Construction For General Partition Applications

  • 1¼ in. × 1¼ in. × ⅛ in. steel angle frame
  • Standard 10-gauge, 2 in. × 2 in. welded mesh
  • ¼ in. × ¾ in. flat-bar panel stiffeners where required
  • 2 in. × 2 in. square-tube posts with ⅛ in. wall
  • 2 in. × 7 in. × ¼ in. welded post base plates, with the 7-in. direction perpendicular to the partition
  • Hinged-door and sliding-gate configurations

ProGuard Heavy Duty

Heavier Angle Framing For More Demanding Enclosures

  • 1½ in. × 1½ in. × ⅛ in. steel angle frame
  • 6-gauge, 2 in. diamond woven mesh is one documented heavy-duty configuration
  • 1 in. × ¼ in. flat-bar stiffeners in the documented configuration
  • Project-specific posts and overhead support
  • Heavy-duty doors and gates coordinated to the opening
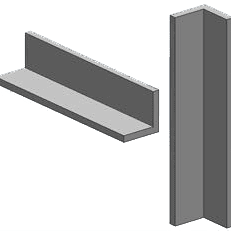
ProGuard steel angle frame construction detail
Steel angle forms the perimeter of the framed mesh panel.

How the system goes together

Panels, Supports, And Access Openings

  1. Posts anchor the layout.Floor-mounted steel tube posts establish corners, changes in direction, door jambs, and support points.
  2. Framed panels connect to the posts.Mesh is welded into angle frames with slotted mounting holes that accommodate bolted connections.
  3. Doors and gates complete access openings.Hinged doors or sliding gates are framed and reinforced for the selected lock and operating condition.
  4. Optional ceilings close the top.Ceiling panels can be added when the security plan requires a fully enclosed cage.
  5. Anchors and hardware secure the assembly.Floor anchors, carriage bolts, self-drilling fasteners, and optional tamper-resistant hardware are selected for the project.
Height & support planning

Height and support planning

Tall Partitions Require More Than Taller Panels

The standard 2-inch square tube and 2-inch × 7-inch base plate establish the typical system. As height, openings, ceiling loads, or unsupported runs increase, the complete support strategy must be reviewed—not just the post size.

ConditionPossible system elementsInformation needed for review
Typical partition run2 in. square tube post with welded base plate, framed panels, top channel as scheduledOverall height, panel widths, sweep, corners, doors, substrate, and finish
Tall or long unsupported runLarger tube posts, line posts, top channels, kickers, or lateral supportVerified height, run lengths, post spacing, openings, building structure, and loading criteria
Security ceiling or roof-overLedge angles, ceiling tees, tube beams, columns, and framed ceiling panelsEnclosure width/depth, ceiling elevation, spans, walls, deck, utilities, and required closure
Complex field conditionFramed cutouts, raked panels, infill panels, removable sections, or custom supportDimensioned drawings, elevations, photographs, obstructions, access, and responsibility by trade

Why there is no universal post chart here: Post size and bracing depend on the complete layout and project conditions. Newark Wire Works confirms the appropriate combination during drawing and project review.

Finishes & Colors

Choose your paint color or compare the coating options for your project.

Painted Enamel

Electrostatically applied, air-dried enamel. Battleship Gray and Jet Black are our standard painted colors; include your preferred color with your quote request.

Battleship Gray
Jet Black
Safety Blue
Safety Yellow
Safety Orange

Need a specific paint color? Send the color reference or project specification with your plans.

Additional Finish Options

Powder coating color reference

Powder Coating

Polyester powder coating in a project-selected color. Send the color code or approved sample and any specified coating requirements.

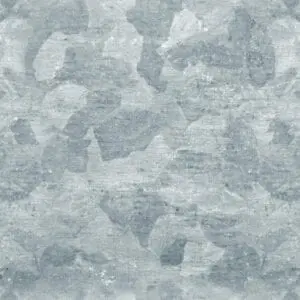
Hot-dip galvanized steel finish sample

Hot-Dip Galvanizing

A zinc coating for compatible carbon-steel construction. Review this option for outdoor, damp, or other exposure conditions called out in the project specification.

Galvanizing + Powder Coating

Hot-dip galvanized steel with a powder-coated color finish. Specify both coatings so we can review the preparation, color, and complete finish system.

Color samples are illustrative. Confirm the final color and finish with an approved sample. Coating suitability depends on the selected material and construction; ask us about stainless steel, aluminum, or mill-galvanized and unpainted mesh.

Openings, locks, and access control

Leave Room For People, Equipment, And Door Travel

Door width, swing, traffic, egress, credentials, electrical coordination, and day-to-day operation should be decided early—not after the panels are fabricated.

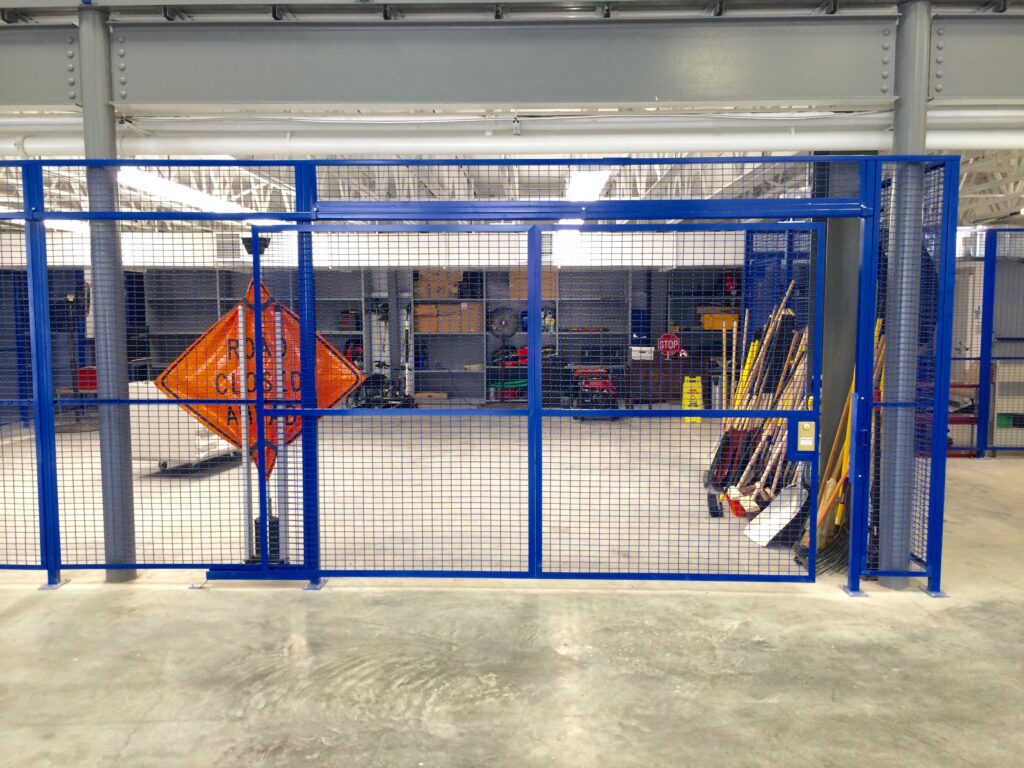
ProGuard sliding gate and framed mesh enclosure

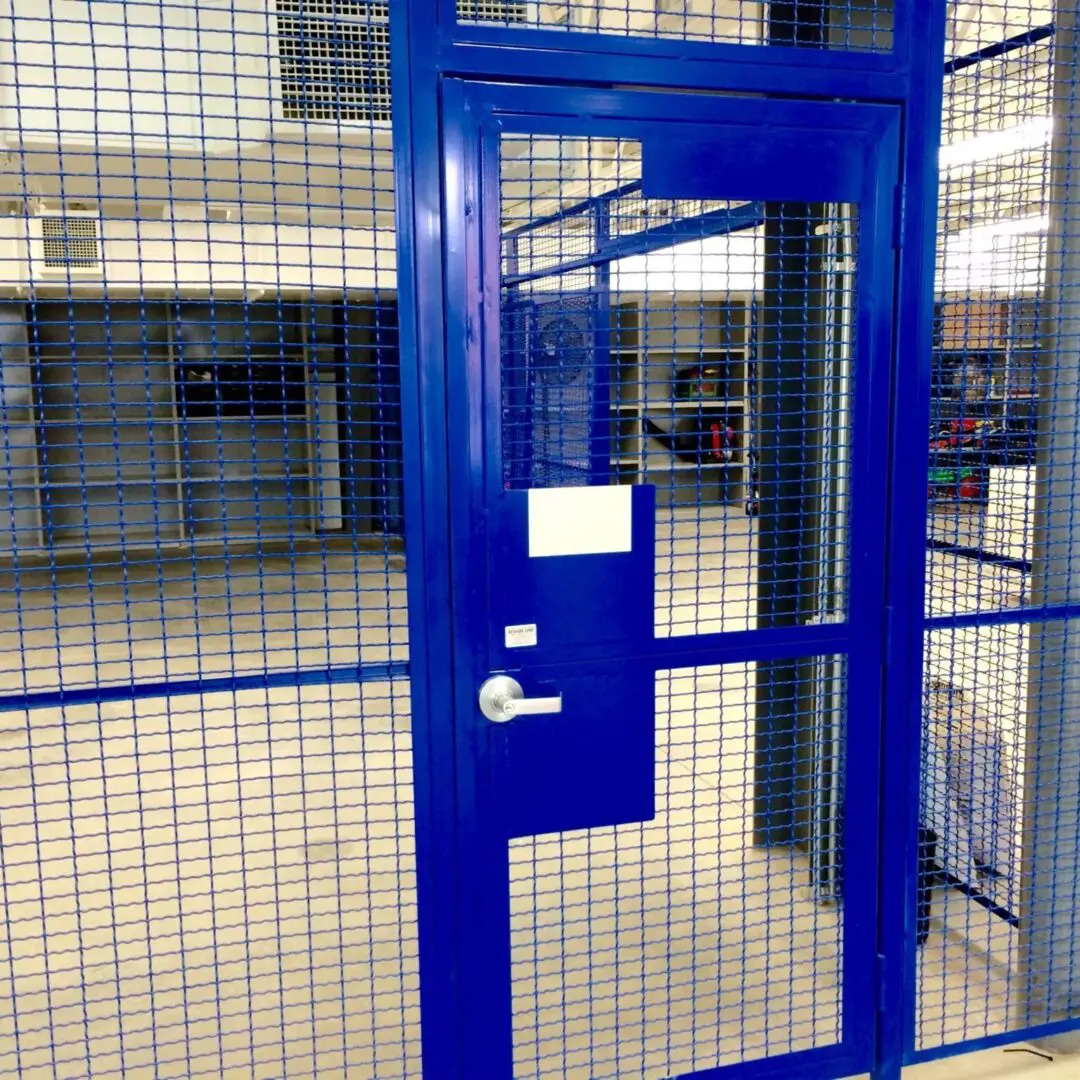
Hinged Doors

Framed mesh doors can be reinforced above and below the lock area and factory-prepared for the specified hinges and hardware.

Sliding Gates

Sliding gates preserve floor area where a swinging door would interfere with equipment, circulation, or stored material.

Mechanical Locks

Options include padlock hasps, Marks mortise locksets, interchangeable-core arrangements, cylindrical lever locks, and panic hardware.

Electronic Access

Electric strikes and electromagnetic locks can be coordinated with card readers, monitoring, fire-system interfaces, and the building access-control contractor.

Padlock haspMarks 3700Marks 3800Schlage ND80Marks 9900 panic barHES electric strikeElectromagnetic lockADA-related options

ProGuard Design Studio

Draw Your Partition Before You Request A Quote

Draw runs, position doors and gates, and explore your enclosure in 2D and 3D. Start with room dimensions or a floor-plan PDF.

Open Design Studio →Save your layout and send it with your quote request. We review dimensions and construction before fabrication.
  1. 01
    Set the spaceEnter dimensions or trace a floor plan.
  2. 02
    Build your enclosureAdd partition runs, access openings, and site conditions.
  3. 03
    Review in 2D & 3DSave your concept and prepare it for project review.
Build a starting specification

Plan your partition

Choose The Main Options For Your Quote Request

Use these selections to describe the enclosure you want. Send the summary with your plan; we still need to review dimensions, construction, and site conditions before quoting.

See everything needed for a quote →
Quote checklist

Project and design checklist

What To Send For An Accurate Review

You do not need every answer before contacting us. Send the drawings and known requirements; Newark Wire Works can help identify the missing decisions.

Start a ProGuard quote
  • Plan or sketchOverall runs, corners, wall connections, columns, and obstructions
  • Partition heightPanel height, sweep, ceiling, overhead support, and clearances
  • Doors and gatesQuantity, clear opening, swing or slide direction, traffic, and egress
  • Locks and accessPadlock, keying, panic hardware, card access, electric strike, or maglock
  • Mesh and frameSpecified construction, opening limit, visibility, impact, and duty level
  • FinishPaint color, powder-coat requirement, galvanizing, and environment
  • Project logisticsShip-to address, floor, access, delivery restrictions, and installation scope
  • ScheduleBid date, required submittal date, desired delivery, and installation window

How ProGuard goes together

Review The Assembly And Connection Details

These excerpts come directly from the 2026 ProGuard installation guide. Select any drawing to open it at a readable size. Use the drawings to understand the assembly sequence; the approved project submittal and quoted component schedule control the exact gauges, dimensions, hardware, and anchorage for the job.

Open the complete installation guide ↗
  1. 01

    Lay Out The Partition

    Confirm finished runs, corners, door and gate openings, sweep, wall conditions, columns, overhead obstructions, and the secured side. Snap control lines from the approved drawings.

  2. 02

    Set And Anchor The Posts

    Position full-height tube posts and welded base plates at corners, jambs, changes in direction, and scheduled support points. Plumb, align, and anchor to the approved substrate before loading the system.

  3. 03

    Connect The Framed Panels

    Center panels on the post, temporarily clamp them, and fasten through the prepunched vertical-frame holes. Keep stacked panels aligned and leave enough adjustment for the complete run.

  4. 04

    Install The Door Or Sliding Gate

    Coordinate the full-height hinge channel, locking bar, transom, strike, track, guides, stops, and required clear opening. Standard hinged-door details use three fixed-pin butt hinges.

  5. 05

    Add Ceilings And Supports

    Where the enclosure closes overhead, install the scheduled ledge angles, tees, tube beams, columns, framed ceiling panels, and wall connections. Do not load security ceiling panels as storage or walking surfaces.

  6. 06

    Align, Tighten, And Test

    Recheck plumb, level, panel joints, anchors, clearances, door travel, locks, egress hardware, and access-control operation. Correct binding or misalignment before turning the enclosure over.

Before drilling

Confirm The Substrate And Concealed Conditions

Locate reinforcing, post-tensioning, utilities, floor systems, and acceptable structural attachment points. Never assume the supplied wall or floor anchor is correct for every substrate.

Designed around the project

Security, Visibility, Airflow, And Access—Without Building A Solid Wall

ProGuard combines steel angle-framed mesh panels with floor-mounted posts, framed doors or sliding gates, project-specific locks, and optional ceilings. The modular components are arranged around the room, equipment, circulation path, and level of security the project requires.

Unlike a one-configuration catalog product, ProGuard can be adjusted for different heights, openings, mesh constructions, finishes, access-control systems, and installation conditions. Newark Wire Works reviews the drawings and helps convert those decisions into a coordinated partition package.

Applications

Common ProGuard applications

Start With What Needs To Be Protected

The right layout and construction depend on what is inside the enclosure, who needs access, how the area is used, and what the building conditions allow.

01

Warehouse Security Cages

Separate inventory, tools, maintenance supplies, valuable components, and restricted materials while maintaining visibility into the enclosure.

Plan for:Material flow, forklift paths, door width, lock control, overhead obstructions, and future expansion.
02

Driver Access And Trucker Cages

Create a controlled entry point that keeps visiting drivers within a defined area while authorized employees manage access into the facility.

Plan for:Entry sequence, egress, pass-through needs, badge access, visibility, and connection to existing walls.
03

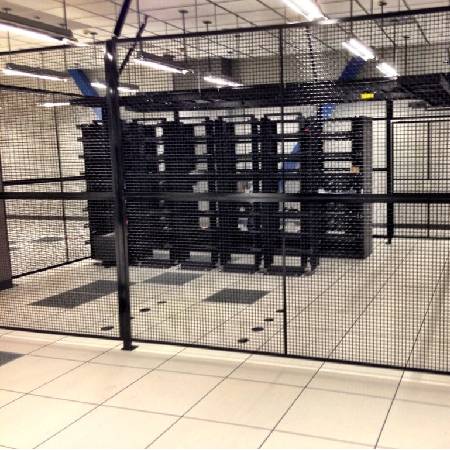
Data-Center And Equipment Cages

Protect servers, network hardware, electrical equipment, and customer-controlled areas without blocking airflow or routine visual inspection.

Plan for:Raised floors and any crawl-under barrier. Each framed or unframed under-floor security panel covers one separate 24 × 24-in. tile bay; no panel spans multiple bays. Also coordinate ceiling or roof panels, clear height, cable trays, grounding, door hardware, and expansion.
04

Controlled-Substance Storage

Build a visible, restricted enclosure for pharmaceutical, cannabis, aerosol, or other controlled storage applications.

Plan for:The governing specification, mesh opening, ceiling, anchorage, access log, alarm interface, and agency review.
05

Machine And Equipment Protection

Define a protective perimeter around equipment, maintenance areas, and operational hazards while preserving light and visibility.

Plan for:Required clearances, maintenance access, controls, openings, guarding requirements, and removable panels.
06

Custom Security Enclosures

Configure partitions around columns, walls, soffits, sloped conditions, existing equipment, or unusual room geometry.

Plan for:Field dimensions, photographs, obstruction locations, sweep space, finish, and installation responsibility.

Regulatory note: A mesh partition is one component of a compliant facility. The architect, owner, and authority having jurisdiction must confirm the complete room, access-control, fire-protection, egress, and regulatory requirements.

Frequently asked questions

Common Product And Planning Questions

Still deciding? Send the drawing and specification. A Newark Wire Works sales professional can help organize the requirements.

What is a ProGuard wire mesh partition?

ProGuard is Newark Wire Works’ angle-frame partition system. Framed wire-mesh panels connect to steel posts and adjoining panels to form secure cages, rooms, barriers, doors, gates, and optional ceiling enclosures.

What is the standard ProGuard construction?

The brochure’s standard starting point uses 10-gauge, 2-inch × 2-inch square welded wire mesh in a 1¼-inch × 1¼-inch × ⅛-inch steel angle frame. Other mesh and frame choices are available.

What is the difference between Standard Duty and Heavy Duty?

Standard Duty uses the 1¼-inch angle-frame starting point. Heavy Duty increases the documented angle frame to 1½ inches and can be paired with heavier mesh and stiffeners. The final configuration depends on the project.

Can NWW provide a custom mesh or opening?

Yes. The current ProGuard product catalog includes 20 choices, and the brochure also notes custom mesh, expanded-metal, and sheet-metal possibilities. Availability and compatibility must be confirmed.

Can the enclosure include a ceiling?

Yes. Framed ceiling panels can close the top where the security plan, room construction, or specification requires a complete enclosure.

Can doors connect to a card-access system?

Yes. Depending on the opening and access sequence, options may include electric strikes, electromagnetic locks, card-reader mounting, monitoring, and fire-system coordination. Electrical and controls work must be coordinated with the responsible trades.

What finishes are available?

Electrostatic painted enamel is the standard starting point. Polyester powder coating and hot-dip galvanizing are also available, along with project-specific colors.

Can ProGuard be installed outdoors?

Outdoor use requires review of finish, anchorage, exposure, structure, drainage, and maintenance. Hot-dip galvanizing is the brochure’s recommended finish starting point for exterior applications.

Does Newark Wire Works provide installation?

Yes. Proposals can be material-only or include installation. Newark Wire Works supports union and non-union job sites, subject to project location, schedule, and scope.

How do I get the fastest quote?

Upload the plan, specification, bid date, location, approximate dimensions, partition height, openings, locks, mesh, finish, ceiling requirements, and installation scope. If something is unknown, identify it as open for review.

Installation drawing

Ready for a technical review?

Send The Layout We’ll Help Turn It Into A Coordinated ProGuard Package